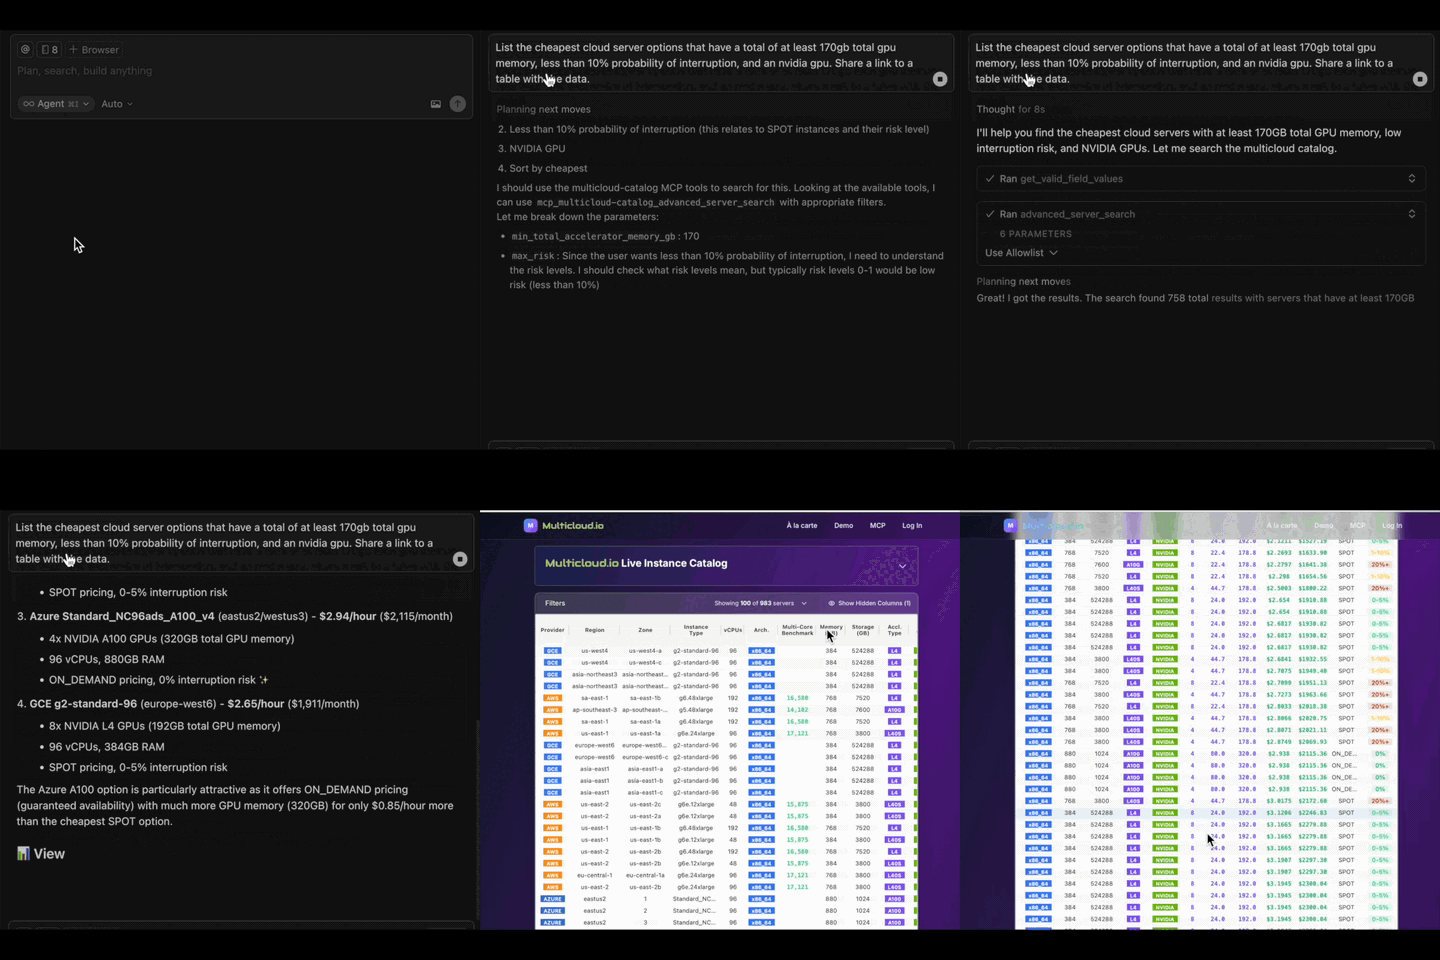
Multicloud MCP Server
Connect AI assistants to the Multicloud platform via the Model Context Protocol

Getting Started
Create an Account
If you don't have an account yet, sign up here.
Generate an API Key
Go to your Account page and click "Generate New Key" to create an access key.
Configure Your AI Assistant
Choose your AI assistant below and follow the integration instructions.
Integration Instructions
Click on your AI assistant to view setup instructions:
Alternative: OAuth2 Authentication
In addition to API key authentication, our MCP server also supports OAuth2 authentication. This provides a more secure and user-friendly authentication flow.
OAuth2 Setup Requirements
- Create a Multicloud account (if you haven't already)
- Use the client ID: multicloud-mcp-client
- Configure OAuth scopes: openid
MCPJam Configuration
For MCPJam users, you can configure OAuth2 authentication as shown in the screenshot above:
- Set Authentication to "OAuth 2.0"
- Check "Use custom OAuth credentials"
- Enter multicloud-mcp-client as the Client ID
- Set OAuth Scopes to openid
- Use the URL: https://mcp.multicloud.io/mcp
Note: OAuth2 authentication provides automatic token refresh and better security compared to static API keys. Choose this method if your MCP client supports OAuth2 flows.
Need Help?
If you encounter any issues during setup, please check:
- Your API key is correctly copied (no extra spaces)
- Your AI assistant is up to date
- The configuration file syntax is valid JSON
- You have an active internet connection